Saturday, October 15, 2011

Cupcake Fairy Costume: Part 1: Appliqued Onsie


Coming up with a costume for your precious baby girl is so difficult!  One day I saw the most adorable cupcake costume when I was at Old Navy with my best friend.  Seriously, I was in love with the idea of carrying around a puffy cupcake.  Cupcakes have kind of been my thing lately.  They are so cute and colorful!

Anyway, I decided that it was important to me to make her costume.  While at the fabric store with my sister Tiffany one day, looking for costume inspiration for our kids, I finally came up with the idea of a  fairy.  I don't remember why or how it came to mind but it sounded adorable.  Her fairy costume needed some sort of theme...cupcakes!  It was perfect; I would make her a Cupcake Fairy.  Brilliant!

Part 1:  Appliqued Onsie

Materials:
  • onsie
  • fabric scraps
  • fusible interfacing
  • matching (or contrasting) thread
  • scrap paper

Start off with a clean pressed onsie.  I chose to use a long sleeved onsie because it will be chilly on Halloween.
Sketch out the design you would like to apply to the onsie.  I tend to do things way too big, so I compared my sketch size to the onsie.  Perfect.  Nothing is sadder when you spend hours applying a fabric flower you made to a onsie to bring your newborn home in just to find when you put it on her and the flower is WAY too big.
Use a couple scraps of fabric. Make sure the fabric piece is big enough for the design and then some.  Iron on fusible interfacing to the wrong of the fabric.  This will help prevent it from wrinkling during the sewing.
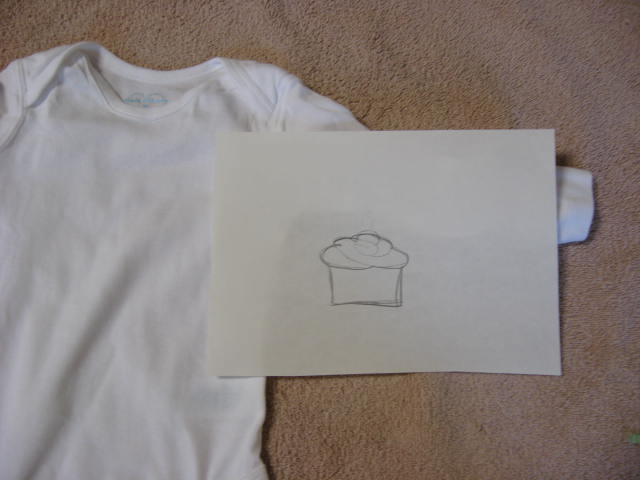
To iron on the fusible interfacing:  cut the interfacing just smaller than the piece of fabric.  Lay the interfacing down, bumpy side up.  Put the fabric on top with the wrong side against the interfacing. Iron on high heat for a few seconds.

Cut the sketch out, then cut again to separate the pieces that will require different fabrics.
Sketch onto the wrong side (or the interfacing side) of the fabric and cut out the pieces.
Place the pieces onto the fabric to figure out positioning and placement.  Then pin the applique pieces together. (After placing the two cupcake pieces onto the onsie, I decided it needed the cherry.)
Do quick a quick stitch across the pieces to hold in place. The stitches will be covered by the next step.
Now here is where I wish I would have done something a little different.  Notice how the onsie is a bit wrinkled around the cupcake?  Well, I should have put interfacing on the inside of the onsie to help keep this finicky knit material in place.  Live and learn!

Position and pin the applique to the onsie.  Using a sewing machine, do a zig-zag stitch around all of the applique pieces.
And the appliqued onsie (Step 1) is complete!  Step 2 will follow soon.

No comments:

Post a Comment