Showing posts with label Craft. Show all posts

Monday, December 5, 2011

Shimmering Pinecones

Remember when I said that I had another use for pinecones in my Pinecone Owls craft?  Well here it is.  This is a very easy craft using glitter.  Does anyone else get excited over glitter?  I have been eyeing this Martha Stewart fine glitter for literally years but it was $30 for a pack of glitter.  I've even had it in my shopping cart many times but in the end I have always put it back before going up the register.  I just couldn't justify it.  Finally last month when I was shopping for my Pinecone Owls I saw that it was on sale for 40% off!  I must say that I absolutely love it too!

Supplies:
  • pinecones
  • glitter (Like I said, I love the Martha Stewart brand but any will work.)
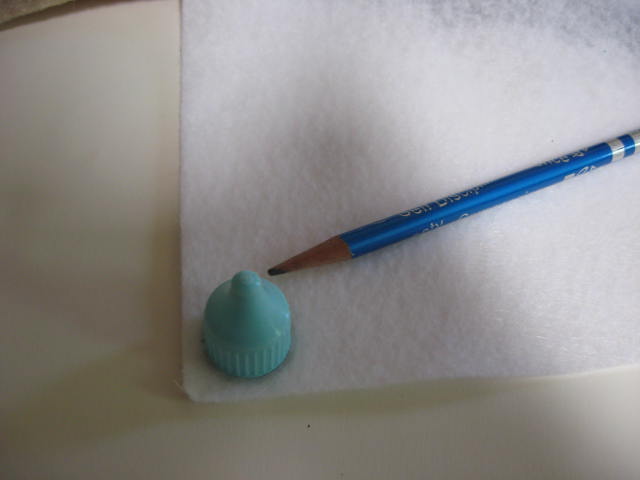
  • glitter glue or elmers glue (You need a thin glue with a fine tip bottle.)
  • paper to catch all the glitter


You should plan to glue and glitter the pinecone in two sections to have a dry spot to lay it down so the glue to dry.  Squeeze glue out onto the edges of the cone scales on one side of the pinecone.
Sprinkle glitter onto the glued scales.  Be sure to lay out some paper because most of the glitter you pour out wont stick to the pinecone.  This way you can pour it back into the bottle.  I like using newspaper because it already has a crease to funnel it into the bottle.
Tap out excess glitter, rotating the pinecone to get it all out.  Set it aside to dry.
Repeat with the other side.

You can even do more than one glitter color on each pinecone.  Just make sure that the first color of glitter is dry before adding the next.

I displayed mine in a gold sleigh by the front door.  Other ideas for display include putting them in a tall, wide and clear vase, an apothecary jar, a decorative bowl or even making them into ornaments for the tree.  Have lots of fun!

Monday, November 14, 2011

Pinecone Owls

So sorry for being MIA recently.  We have had a super crazy couple of weeks around here filled with an ear infection, the stomach flu and a cold.  Luckily, with the bad times there were some good ones.  Like my dad's birthday, two of our niece's baptisms (even though we could only make it to one) and our nephew's first birthday party.  AND I have managed to create one Thanksgiving project that I had planned.  Wohoo!

Look at these little cuties! These owls are very easy to make and this is a great project for kids to help out with.
I have to admit that I stole this idea from my teachers way, way back in elementary school.  My sister Cristina was the first one to do this project at school for Thanksgiving when she was in fourth grade.  Her owl is on the left.  I, being just one grade younger was extremely excited to get to make my owl the next year.  After all that anticipation, they had us make them differently and I ended up making that little number to the right.  I didn't even realize how un-cute mine was until I brought it home the last day of school before Thanksgiving break and set it down next to my sister's...  Complete disappointment.  I have been wanting to redo it for the last couple years and I finally got everything together and did it.

Materials Needed:
  • pinecones  (I bought mine at clearance from a craft store.  They are lightly scented but not strong.  If you live somewhere that you can easily collect them from under a tree that works too.)
  • cotton balls (pulled apart into smaller pieces). 
  • felt (I used white, black and a couple shades of orange and tan.)
  • craft glue
  • scissors
  • pencil

The bag of pinecones that I purchased came with two different types.  If you run into the same thing just separate them like I did.
The dark brown pinecones that are wide with a good amount of spacing work best for this project.  The other ones wont go to waste because I have a Christmas craft underway for them.
Use the felt to create the owl's face and body parts.  I started with the eyes, using the cap of my glue to get a good circle.  You'll also need ears, wings, a beak, a belly and feet.
Glue the overlapping felt together with craft glue then lay out your owl features.
Dot some glue onto the "petals" of the pinecone then stuff them with cotton pieces.
Now you should have the owl's body and body parts.
Glue all the body parts to the pinecone and you're done!  Isn't he cute?
You can even make a family of owls!  They are the perfect addition to my Thanksgiving decor. 

Tuesday, October 11, 2011

Tissue Paper Ghosts

Halloween season kicks off the best three months of the year!  Isn't this little guy the cutest?  I have been making these since my first Halloween as a married person.

You'll need:
  • white tissue paper (2 sheets per ghost)
  • scissors
  • Sharpe marker
  • twist ties
  • yarn, ribbon, or raffia
  • note pad
Take one sheet of paper and scrunch it into a ball.


Take another sheet of tissue paper and wrap it around the wad.  If your tissue paper has a rough side and a shiny side, put the shiny side out.  This makes it easier to draw a face because the ink spreads less.
Wrap a twist tie around the neck to secure the wad of paper in place.  Be sure to wrap the ends of the twist tie around the neck after you twist it to make it easier to hide.
Tie the yarn in a bow around the neck of the ghost.  Try to hide the twist tie.
I make the strand of yarn too long.  This way I don't have to worry too much about making the ends even. Just trim off the excess.
You can also use raffia.  I've even used Halloween ribbon before.
I made half of my ghosts with yarn and half with raffia.  They look like boy and girl ghosts :)


Sketch out ghost mouths and eyes to figure out what effect you want.  Once you figure out what you want, apply to the ghost.
Use thread or fishing wire to tie them up wherever you want them. I tied mine outside.  I know what your thinking, "What if it rains?"  Well, that crossed my mind, but I also thought, "It never rains here so it will be fine."  Guess what?  It rained the next day.  Now all my ghosts look like they have been hanged on a noose.  Long story short - if you decide to hang them outside, make them out of a white disposable tablecloth or something.
Pretty cool while they lasted!

Fun Tip:  See those hooks the ghosts are hanging from?  They are there to hang Christmas lights on.  It is a lot faster, easier, and safer to put them up now.
Now you try!